

How to renovate your home like an artist
Six steps to stewarding chaos


HERE’S A SIMPLE SYSTEM you can use to renovate your home.
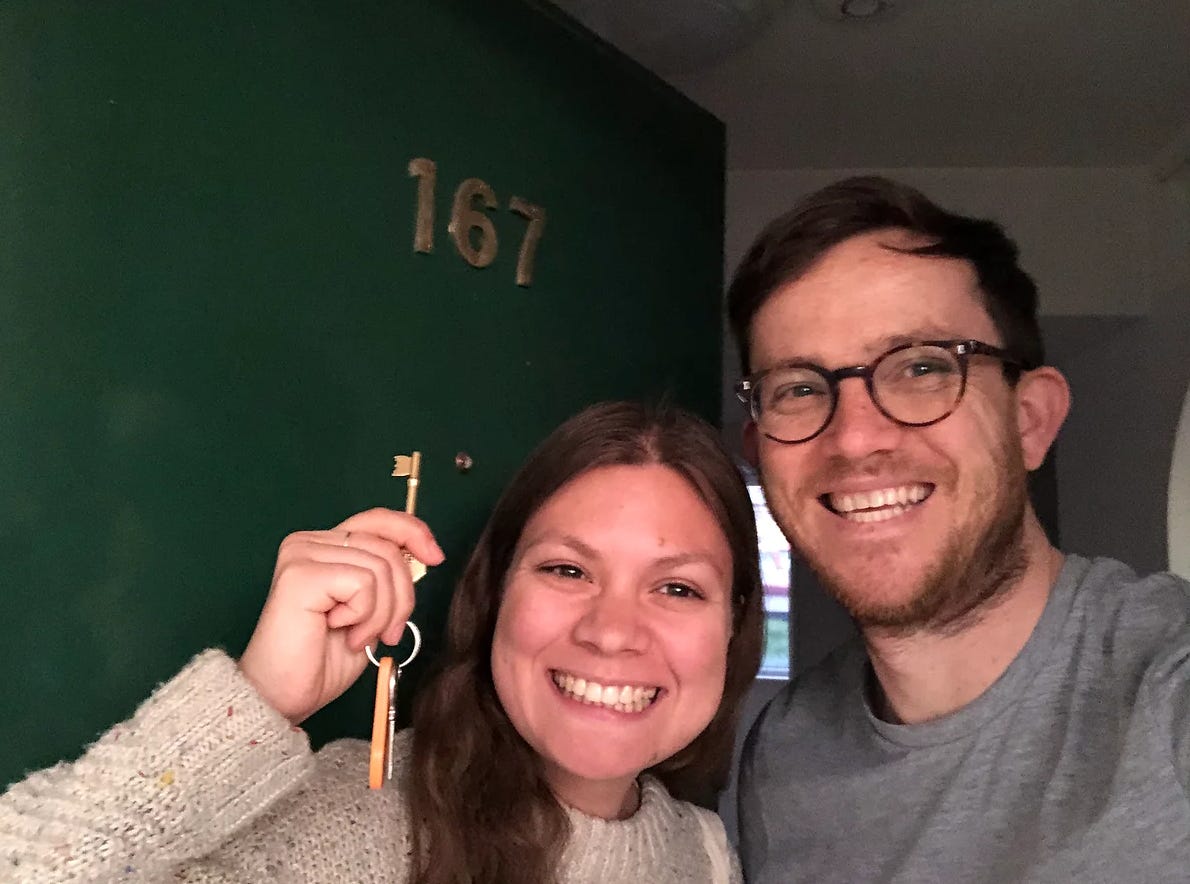
When me and my girlfriend got the keys to our flat, it was okay. It was liveable. But it was also just…somebody else’s flat 👎
COVID-19 made us stay home and the flat became our “big project.” We went all in, coming up with concepts and doing research, playing around with tools and materials, questioning everything and critiquing our ideas—all skills we learned as artists.
We didn’t know it then, but we were building a repeatable system that allowed us to conceptualise, plan and do a complete home renovation with stunning results and without falling out.
Our new home was functional and beautiful and, later on, super easy to let. No interior design degrees required.
Here are the steps:
Audit activities
Keep or cut
Choose a concept
Research thoughtfully
Organise key themes
Use design tools
I’ll take you through it now. By the end of this piece, you’ll be confident you can design your own home—your own anything!
1) Audit activities
The first thing we did is write down the activities we’d use each room for, considering our own needs as well as those of guests.
For example, in our kitchen we wanted:
plenty of room to cook, so this meant extending the worktop
to eat adventurous food, so this meant owning every herb and spice under the sun
space for all our pots and pans, so this meant going beyond the limited cupboard space to hang stuff on the walls
Establishing activities upfront helped us answer later questions about utility and style.
And really important: to give both our needs space to emerge, we audited activities independently before coming together to share them.
2) Keep or cut
William Morris, visionary pioneer of the Arts and Crafts movement and general all-round interesting bloke, said, “Have nothing in your home that you do not know to be useful or believe to be beautiful.” We couldn’t agree more and that became our north star.
“Sterile blue carpet on the stairs giving off call centre vibes?” Gone.
“Snot-coloured kitchen floor tiles?” Too big a job to replace. Must incorporate into broader design.
We also knew we wanted a dedicated room to write and make art in, so we nominated the larger of the two bedrooms as our home studio. Half the job of being creative is proactively cultivating the conditions for it to flourish.
With the slate cleaned, it was time for ideas.
3) Choose a concept
Having a concept for each room mobilised and guided the entire design process. It gave us a starting point, oriented us towards a vision, stopped us from getting distracted, made choosing elements easier and helped us feel more confident.
The more specific we were, the easier it was to know what we were looking for—and not looking for—when it came to researching.
Here are some example concepts. You could take one from the list and use it as is. You could come up with your own. Or you could combine them:
🧠 Memory (Grandma’s kitchen, honeymoon, backpacking trip)
🧨 Moment (Swinging Sixties, Ancient China, year 2050)
🏙️ City (Paris, Bangkok, Istanbul)
⛩️ Landmark (Taj Mahal, Angkor Wat, Palace of Versailles)
🌳 Terrain (jungle, dunes, mountains)
🏜️ Climate (Mediterranean, desert, tropics)
✊ Movement (sustainability, big tech, women’s suffrage)
🎭 Art style (Surrealism, Minimalism, Baroque)
💃 Person (William Morris, Jesus, Jane Austen)
🪵 Material (wood, glass, leather)
🧿 Object (boat, garden, the human body)
🦁 Animal (tiger, tortoise, butterfly)
🧭 Philosophy (Yin yang, Stoicism, Collectivism)
🧪 Combo (Jane Austen’s sustainable wooden house on the beach)
We chose “Mediterranean garden” for our kitchen because we love the climate, the food and the culture.
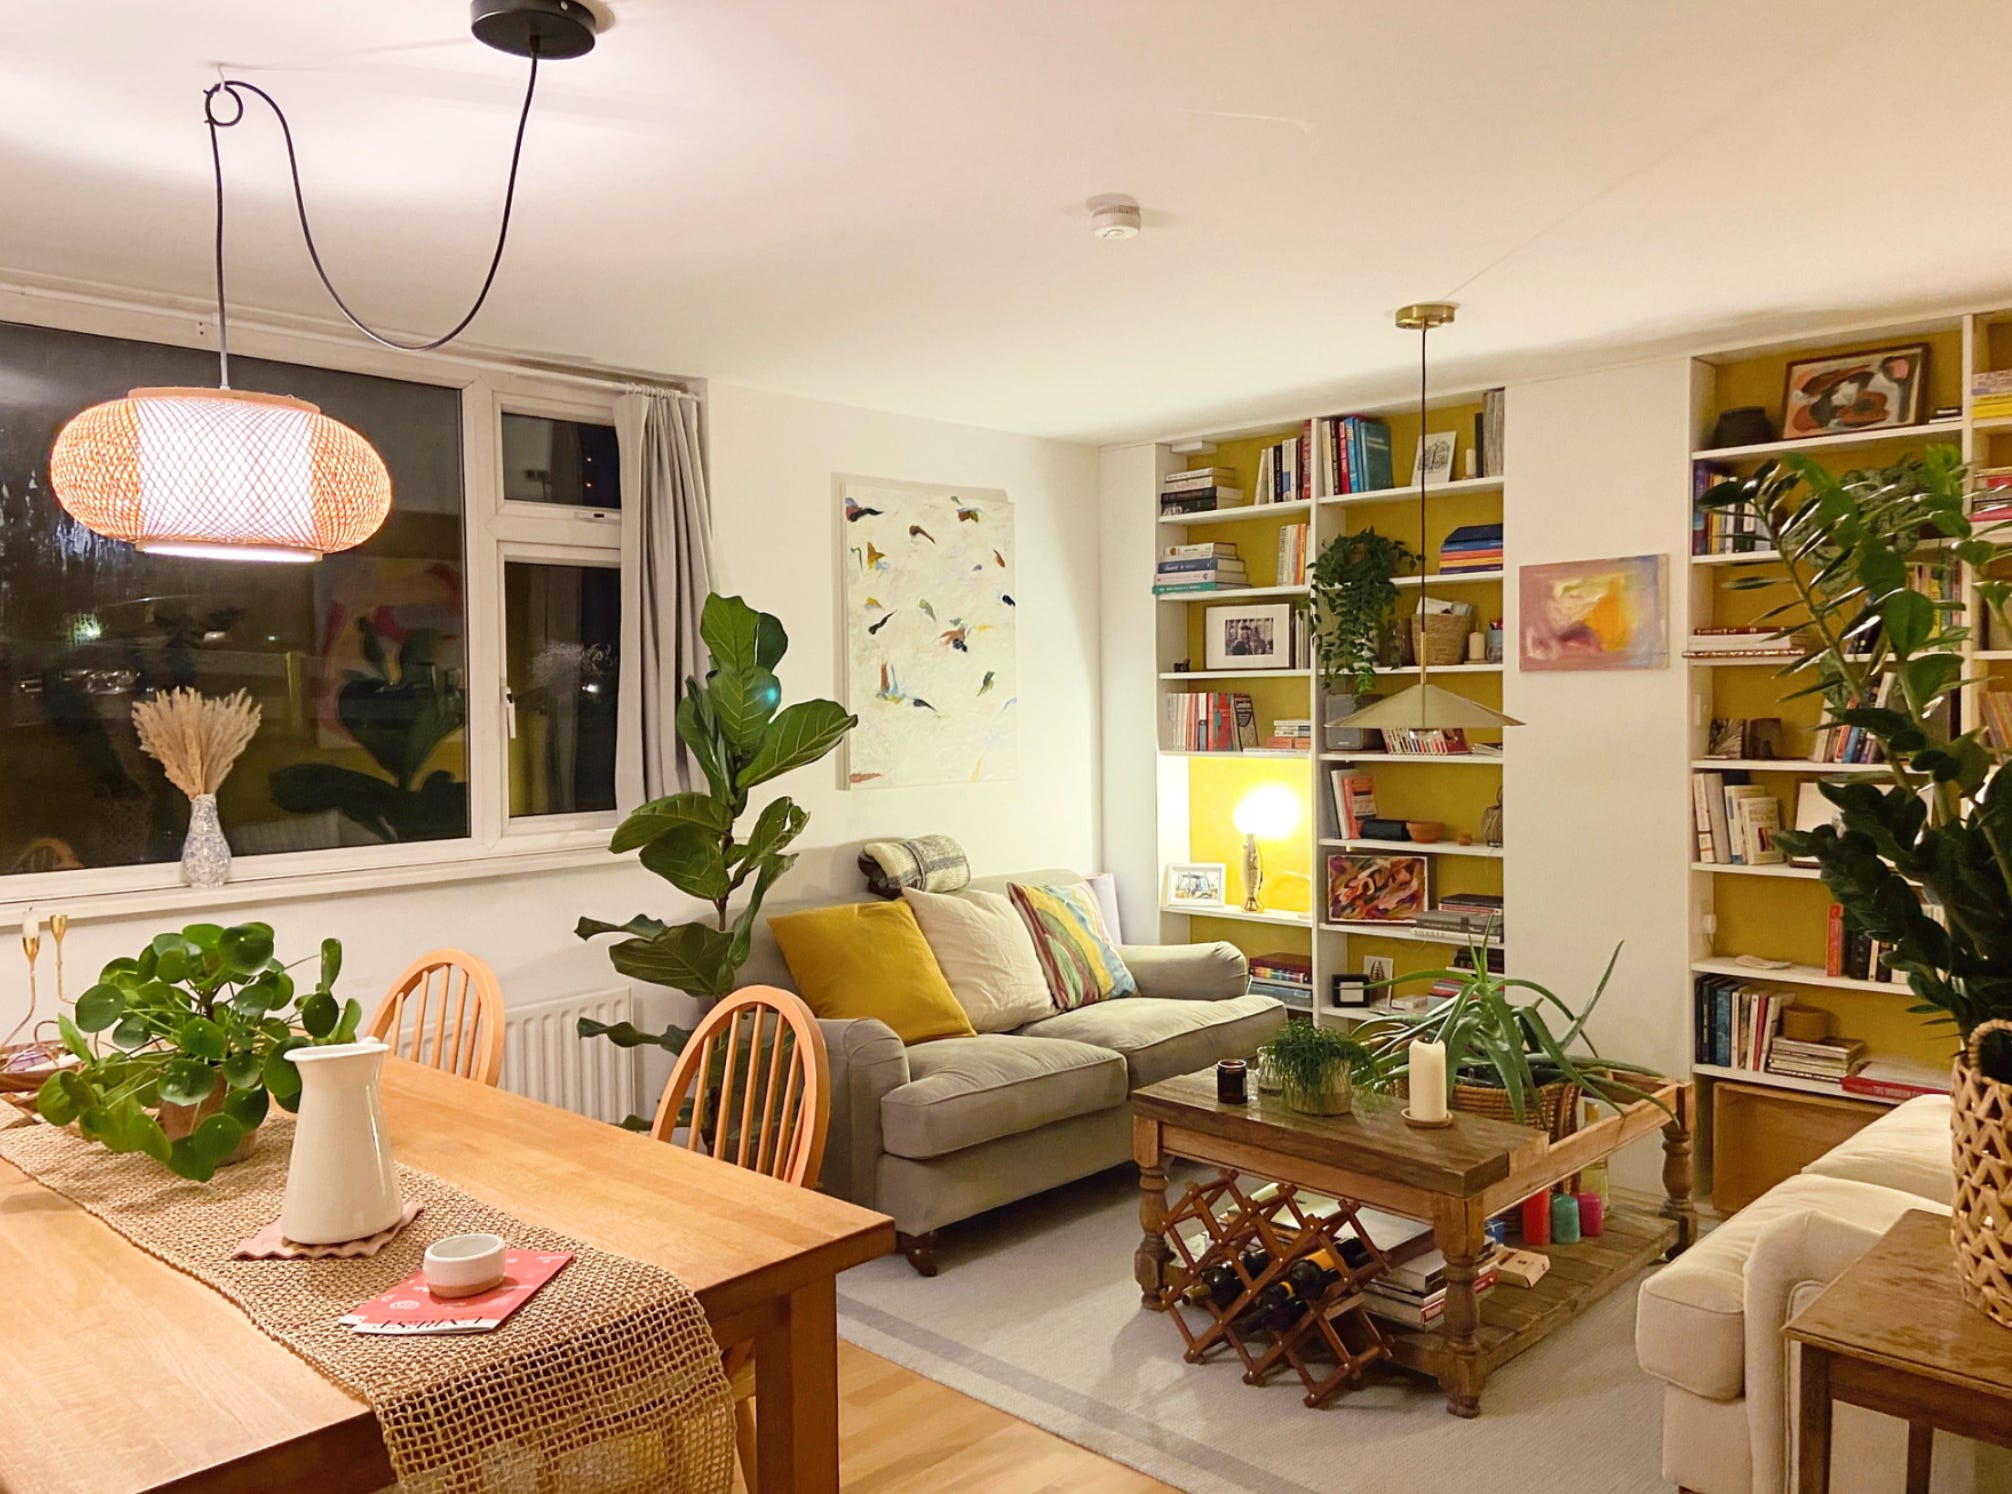
Our lounge became “Danish dunes” because Corina’s family has a home there and it’s such a unique, laid back place.
Choosing different concepts for each room captured ideas that were special to us, adding a narrative quality with stories unfolding from room to room.
4) Research thoughtfully
Now that we were aligned on our concepts, we started to gather inspiration. We obviously rinsed Google and its “related images” feature. But the sharpest tool in the shed was Pinterest, second-to-none for generating endless inspiration.
As we browsed, we asked ourselves two questions:
What are the characteristics, tropes and objects we see repeatedly in our concept?
What do we like about them—and why?
We screenshotted images and captured notes. Likes and dislikes began to emerge. And all of this gradually informed our “key themes.”
5) Organise key themes
The ritual of organising themes based on concepts was really where most of the “designing” took place. The subtle acts of looking, selecting and combining—together with our constant chit chat—gave us our final designs and to-do lists.
We needed somewhere to organise everything, so we used a Kanban board (columns of "To Do," "In Progress" and "Done") in a free tool called Trello.
For each room, we had five themes corresponding to the five main senses:
Colours
Objects
Textures
Smells
Sounds

We uploaded a hero image to encapsulate our concept and anchor us to our vision—especially helpful when we’d been away for a while.
And once everything was agreed, it was time to put some elbow grease on it and make it all happen!
6) Use design tools
In addition to Trello, we leant on a number of other free design tools to help us…
…fantasise
The Modern House, Design Milk and Dezeen allowed us to salivate over stunning homes
…personalise
SheKnows, Apartment Therapy and the DSA offered quizzes to help us understand our own styles
…analyse
Pinterest was an endless generator of ideas we used to refine our vision and furnish the rooms
…colourise
Coolors let us make complementary colour combinations and explore millions of proven schemes
…and visualise
Planner 5D let us create floor plans and then switch to 3D to see our design from any angle.

Three bonus tips
1) It’s helpful to choose a statement piece—an oversized chair, a patterned rug, a striking artwork—to dominate a room and build from there.
2) Sites like eBay, Freecycle and Facebook Marketplace are full of rare furnishings. We found our William Morris sofa on eBay for just £24. The owners clearly didn’t know how valuable it was.
3) And we strongly recommend keeping a blog or diary of your renovation project. It’s fun, celebrates progress and gives you something to show your grandkids.
Stewarding chaos
I’ll be honest. It wasn’t all smooth. It was often exhausting, lying on the floor with no furniture waiting till after midnight for deliveries to turn up.
And heartbreaking, getting leaked on with dirty water in the middle of the night three weeks after moving in.
The neighbours were noisy too. Our bedroom was under their kitchen and they were up at 5am most mornings chopping food. Eventually we had to move bedrooms, pulling our handmade bed head back off the wall, leaving it looking like the scene of a drive-by shooting with holes we never got around to filling in.
But, the place was ours and that’s what mattered—even with the chaos, imperfections and unfinished snags—and we lived there for two years and absolutely fucking loved it.
When we became digital nomads we had no trouble renting it out either. They were practically queueing up.
We’ve now been on the road almost two years and the flat is happily rented to tenants who have an unusual level of care for somebody else’s property. And although I’ve got no proof of it, I do think it’s because the place feels coherent and has artistic integrity—and that wasn’t accidental; it came from following this system.
This system is a glimpse into the mind of an artist, designer or anybody doing creative work. We know about left-brain and right-brain thinking and the wisdom of integrating both. But it’s how to do that. How do you orchestrate chaos? How do you control creativity when it can be so unpredictable and unpatternable?
I think that’s what artists are really good at. They know how to set up structures that create the conditions for freedom and playfulness where beautiful things emerge that they couldn’t have planned for. Artists are the world heavyweight champions of stewarding chaos.

Renovating our flat was one of the most rewarding things we’ve ever done. And these 6 steps are a repeatable blueprint. So, steal it! Use it to boss your own home redesign or whatever you’re creating.
Here’s a quick recap. Pin it to your wall:
Audit activities for each room's use, needs and specifics
Keep or cut features based on usefulness and beauty
Choose a concept to guide your entire design process
Research thoughtfully and note themes and preferences
Organise key themes for design inspiration and planning
Use design tools to fantasise, personalise, analyse, colourise and visualise
And here’s a final picture of our kitchen, lounge and studio. See the spice rack with the little hand-painted jars? We’re especially proud of those!


Thanks for reading. Leave a comment or email me if this resonates and you wanna chat more.
Harrison 🙋♂️
Thanks to Becky at Beck At It, Emily at Emily's Notes and Corina at Meaningful Magpie for reading drafts of this.
Want more insights? I’ve grouped my writing into 3 themes:
Want to know my mission and how you can help? Start here →
Love love LOVE all the warm lighting that went into all of your rooms!
...the payoff on those photos is really dope...space looks A+...i live in a garbage can and could totally apply these tips to improve this tin...